How to use Scratch Remover
Follow the instructions for Scratch Removal & overall Paint Restoration. If you can feel the scratch with your fingernail, most likely it will be too deep to fully restore without professional repainting. For deep scratches we recommend using manufacturer touchup paint along with our kit to smooth out the touch up for a better repair.
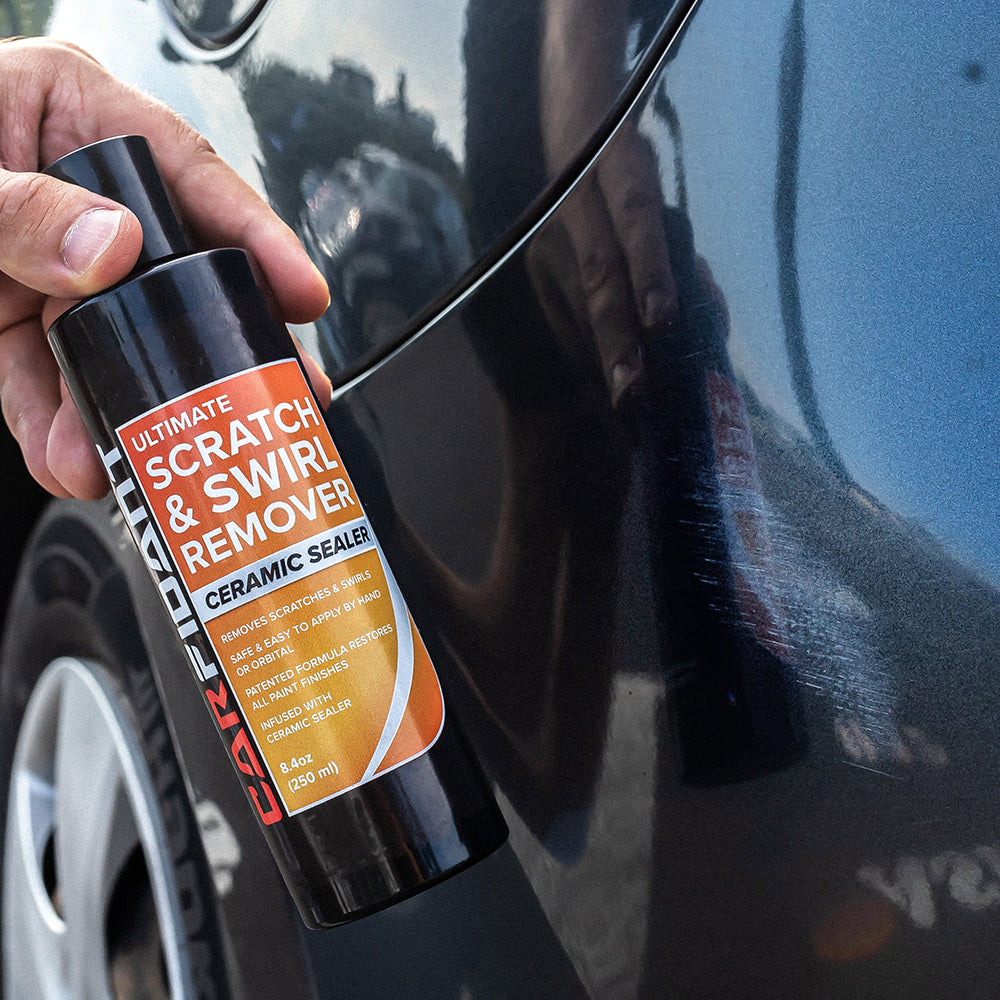
Step 1: Prepare the Surface
- Wash and Dry: Clean the area to remove dirt, grease, and debris.
- Protect Trim: Use masking tape to cover nearby unpainted rubber, plastic, or trim.
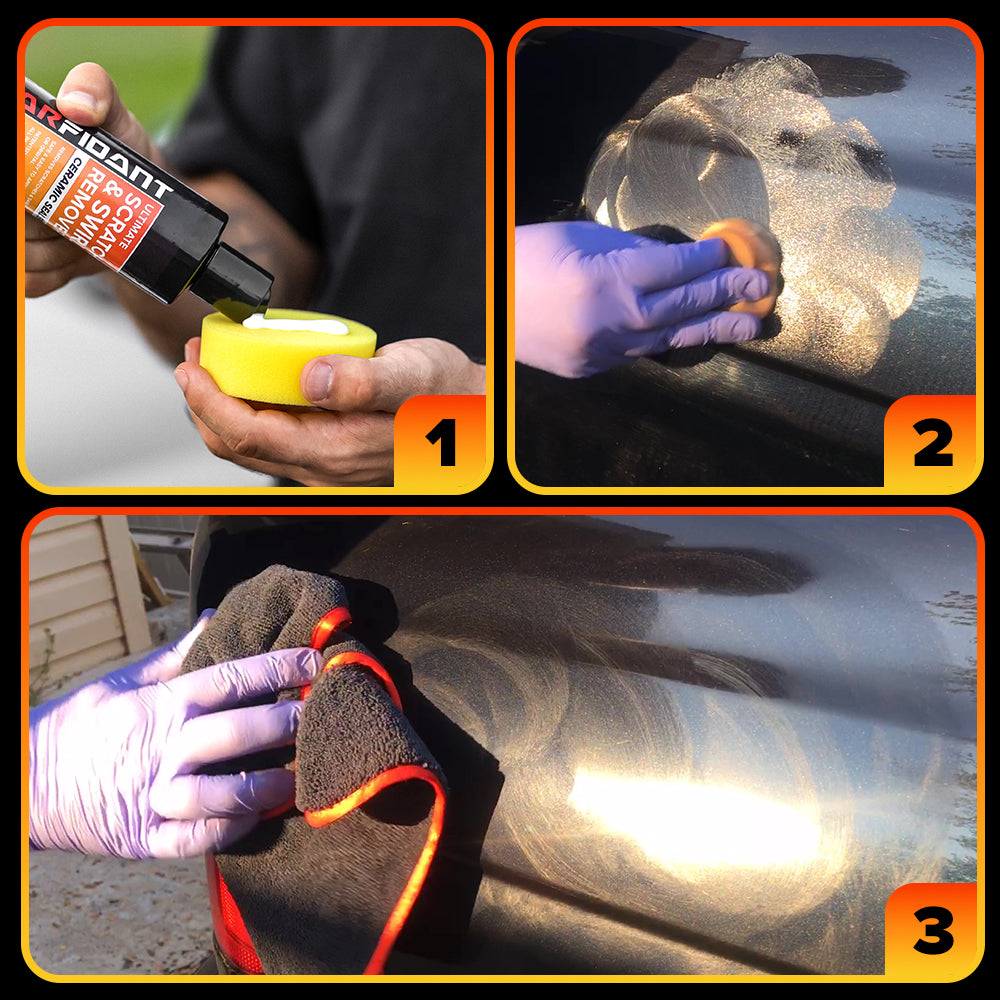
Step 2: Apply the Scratch Remover
- Option A: Hand Polish Pad - We recommend starting with the hand polishing pad first before moving onto the drill attachment.
- Shake the bottle and apply a nickel-sized amount of polish to the pad.
- Rub in small, overlapping circles with moderate pressure until scratches fade. Use light pressure.
- Wipe with microfiber, inspect and repeat as necessary.
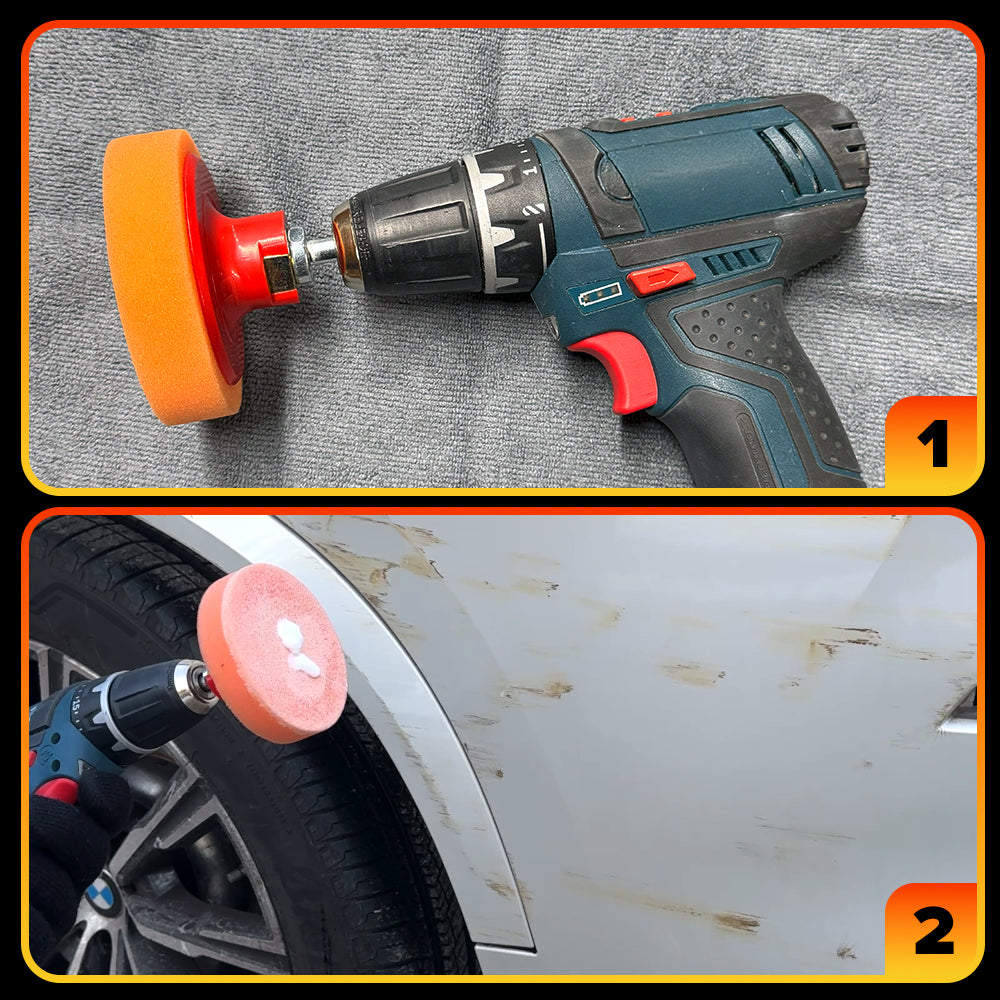
- Option B: Drill Attachment - The drill attachment should be used for severe scratches that cannot be removed by hand. It must be used carefully as it may leave marks or haziness when not used as instructed.
- Attach the polisher securely to your drill.
- Shake the bottle and apply a nickel-sized amount to the foam pad.
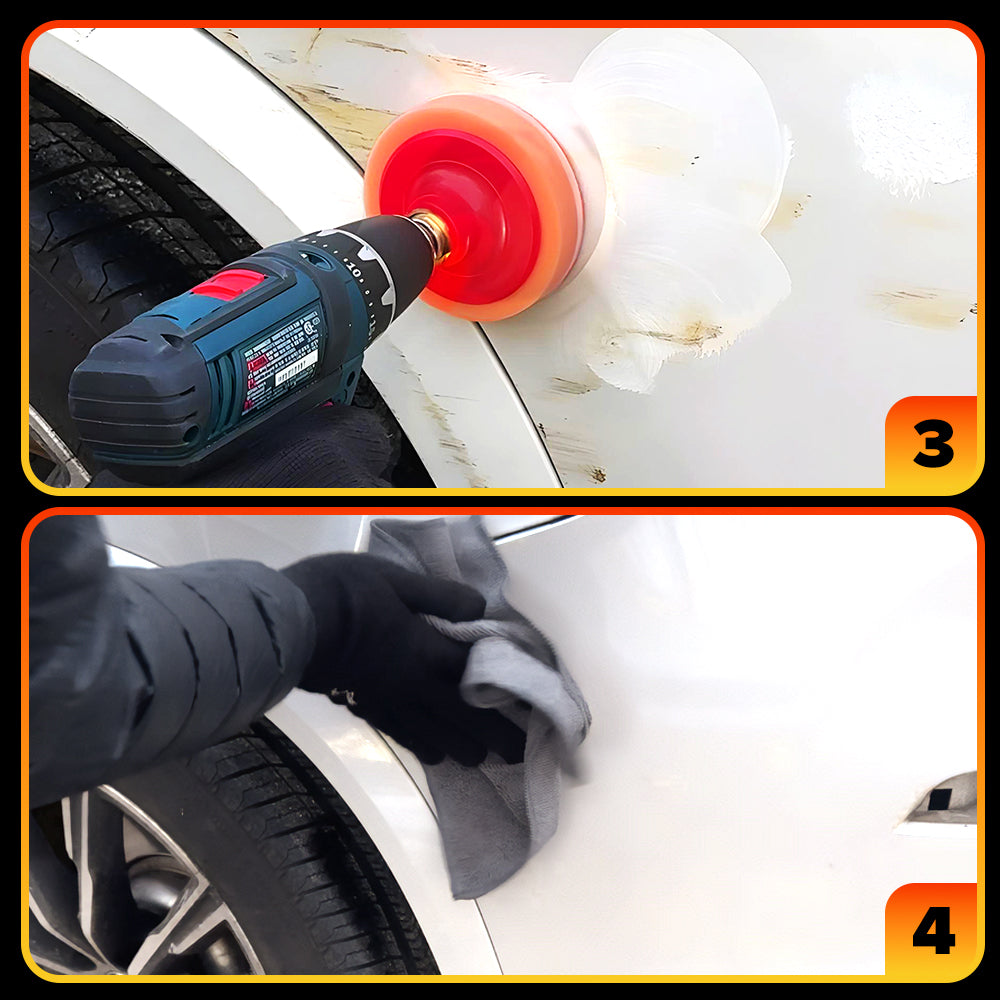
3. Place the pad on the scratch and spread the compound evenly, turn the drill on low, and move in small, overlapping circles. Increase to medium speed as needed. Use LIGHT pressure and do not push down hard. Do not keep the drill in one spot, move around in an overlapping motion! Pushing down hard and holding the drill in one spot may damage the paint.
4. Wipe with microfiber, inspect and repeat as necessary.
Important Notes:
- Best for light to moderate scratches. Deep scratches may need professional repair.
- Test on an inconspicuous area first.
- Start with the hand pad before using the drill attachment.
- Wash pads after use and air dry them.
-
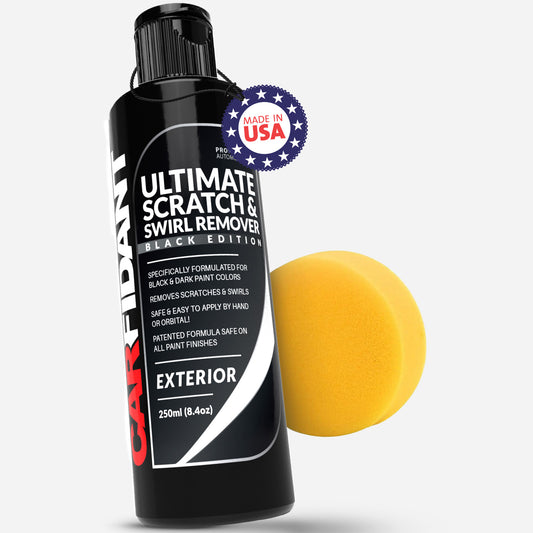
Scratch and Swirl Remover for Black and Dark Paints
Regular price From $21.97Regular priceUnit price / per$26.99Sale price From $21.97Sale -
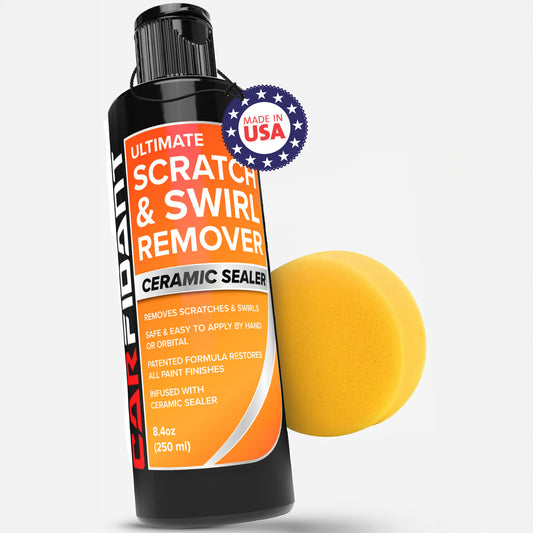
Ultimate Car Scratch & Swirl Remover
Regular price From $19.97Regular priceUnit price / per$21.97Sale price From $19.97Sale -
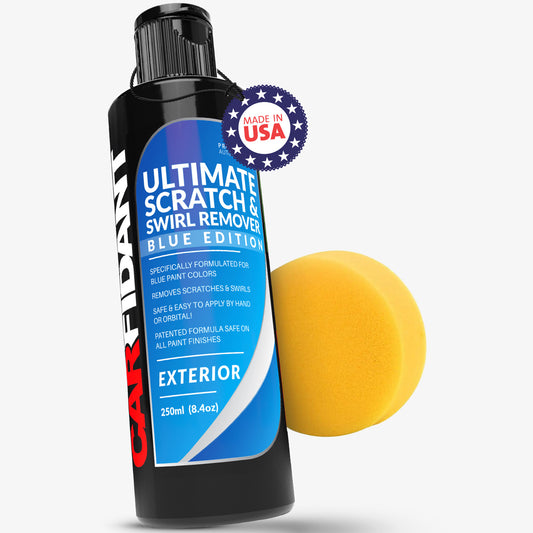
Scratch and Swirl Remover for Blue Color Paints
Regular price $19.95Regular priceUnit price / per -
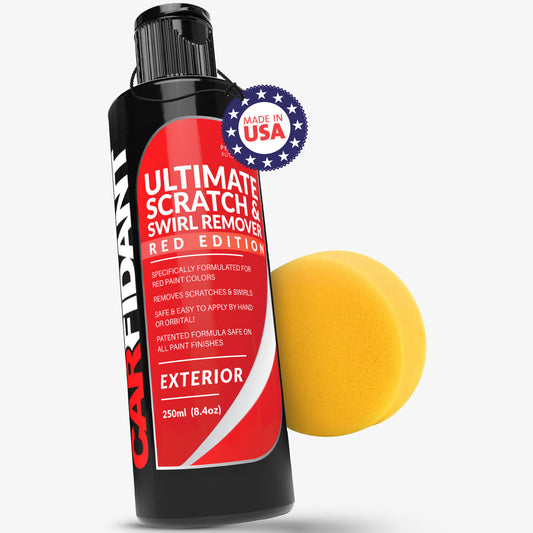
Scratch and Swirl Remover for Red Color Paints
Regular price $19.99Regular priceUnit price / per


