Before you open the bottle
The 30-second fingernail test
Run your fingernail across the scratch, lightly, at a right angle to it. What happens next tells you whether this is the right tool for the job.
Your nail glides over it
The damage sits in the clear coat. This is exactly what the Scratch & Swirl Remover is built for. Follow the steps below — and plan on three to five passes, not one.
Your nail catches in it
The scratch is through the clear coat. No compound will remove it — ours included. It needs touch-up paint or a body shop. We would rather tell you now than after you have spent an afternoon on it.
Not sure which one you have? Send a photo to support@carfidant.com and we will tell you straight.
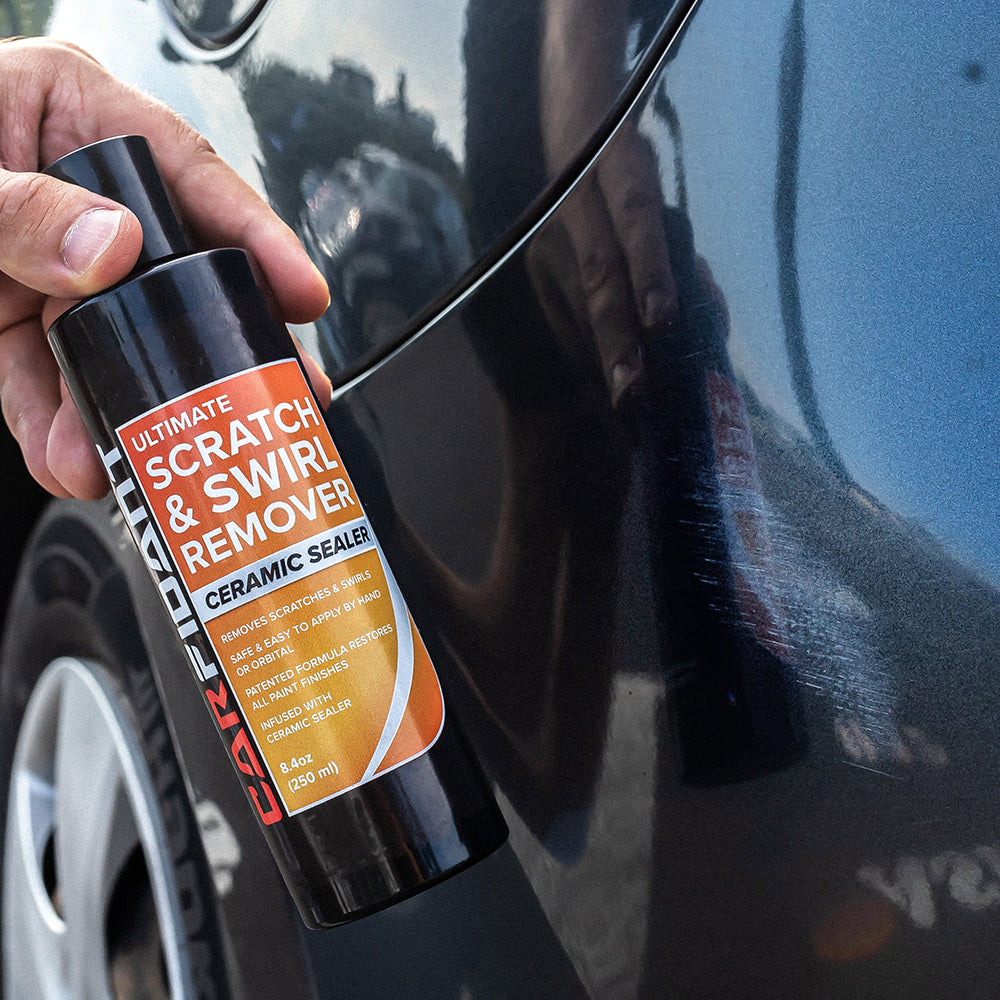
Step 1: Prepare the surface
- Wash and dry. Clean the area to remove dirt, grease and debris. Grit left on the panel is what turns a repair into a new scratch.
- Protect the trim. Use masking tape over nearby unpainted rubber, plastic or trim.
- Work cool and out of the sun. Hot paint dries the compound before it can cut.
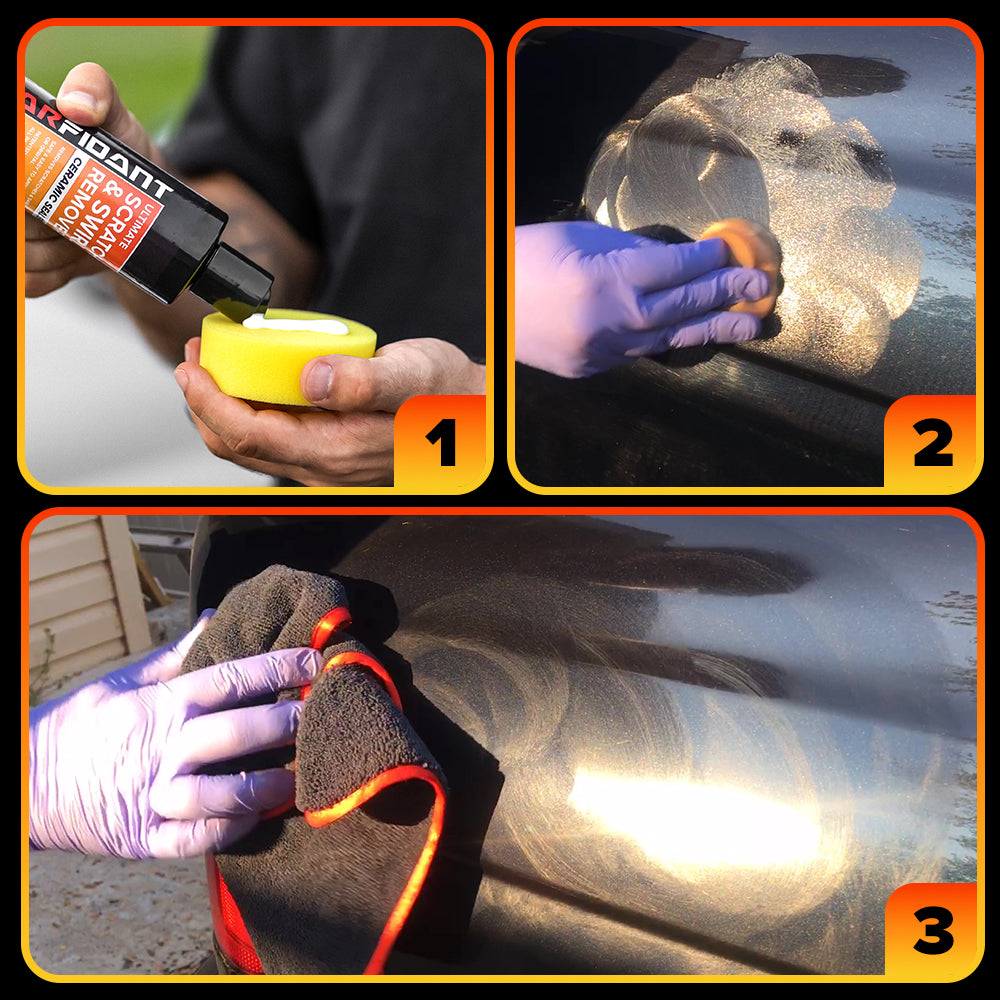
Step 2: Apply by hand
The hand pad in your kit is the main tool, not the beginner option. On a light scratch it does everything a drill does.
- Shake the bottle and apply a nickel-sized amount to the pad.
- Rub in small, overlapping circles with light pressure until the scratch fades.
- Wipe with a clean microfiber, inspect in daylight, and repeat.
Plan on three to five passes. One pass almost never finishes the job.
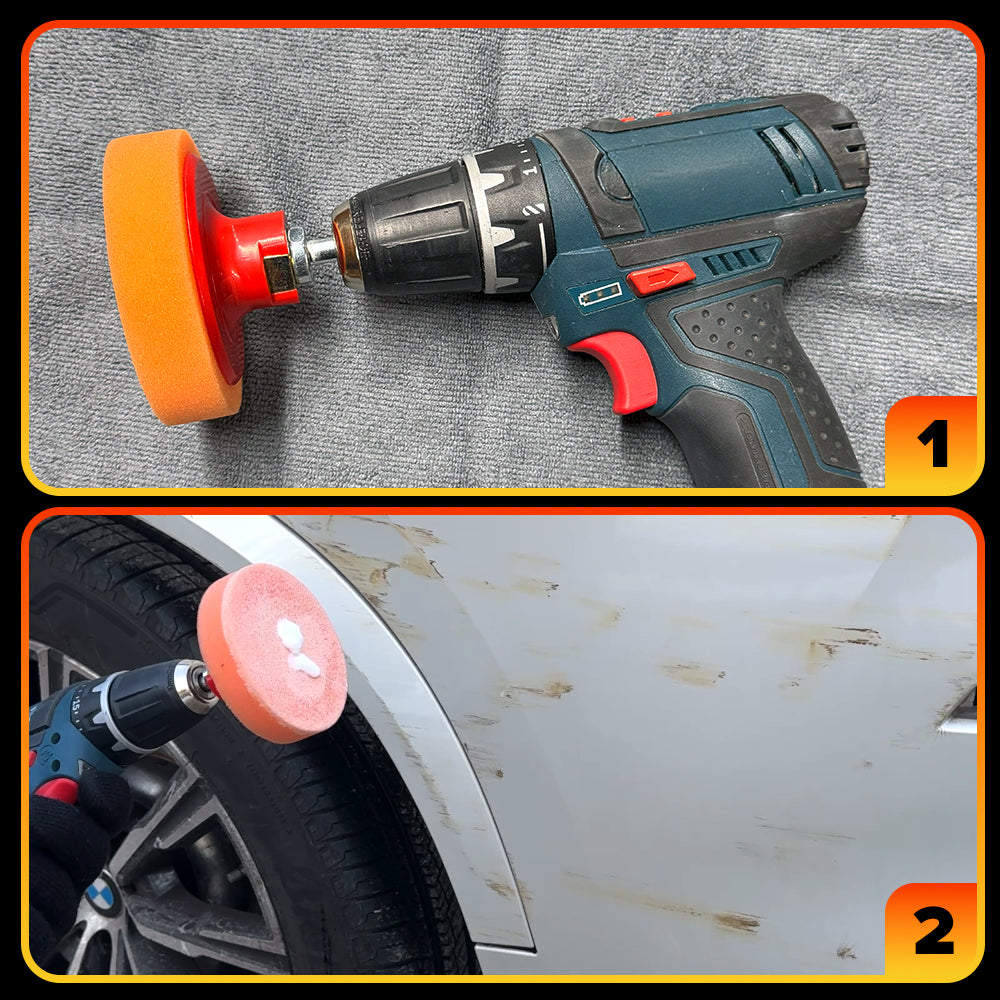
Step 3: Drill attachment — only if yours came with one
Most kits are the bottle and the hand pad, and that is the complete kit. The drill attachment comes with one particular version of the Scratch & Swirl Remover kit — the one whose listing says it includes a drill attachment. If yours did not have one, nothing is missing and you are not at a disadvantage on a light scratch. Skip to the next section.
The drill is for severe scratches that will not come out by hand. It must be used carefully: it can leave marks or haziness when not used as instructed.
- Attach the polisher securely to your drill.
- Shake the bottle and apply a nickel-sized amount to the foam pad.
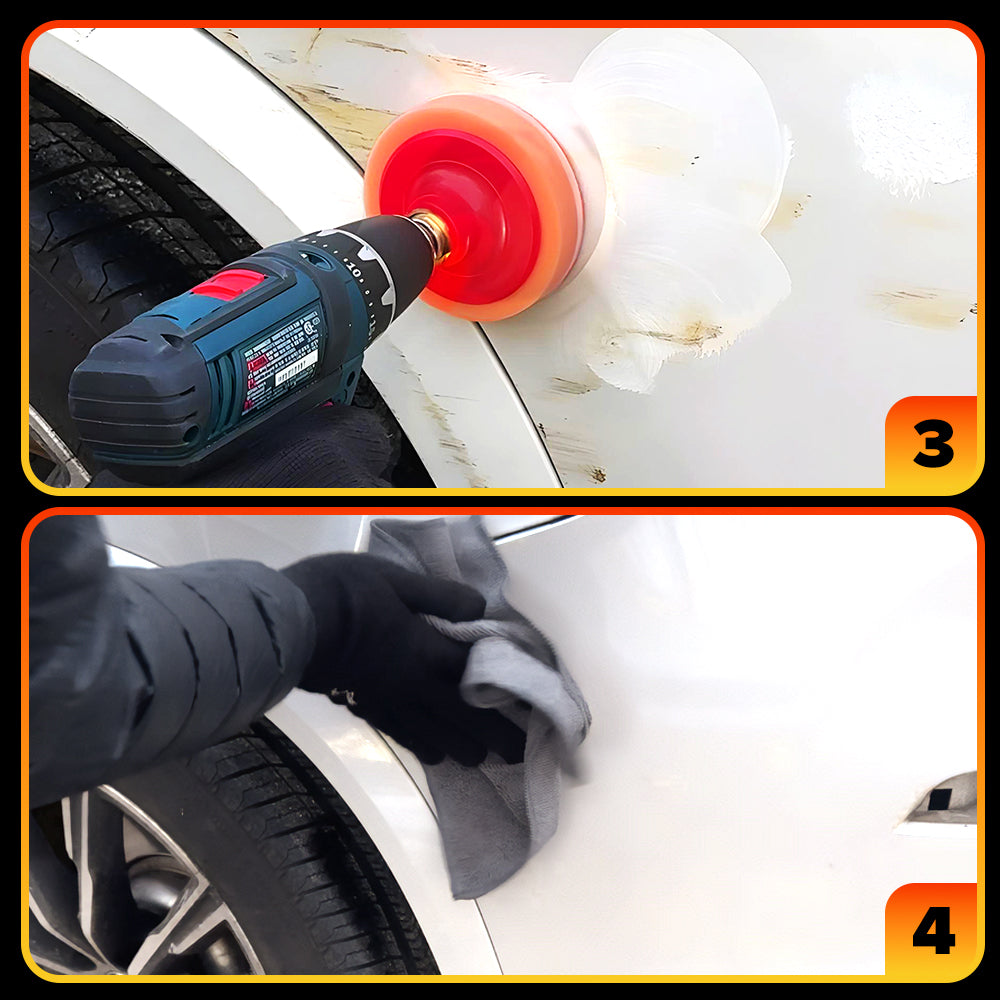
3. Place the pad on the scratch and spread the compound evenly, turn the drill on low, and move in small, overlapping circles. Increase to medium speed as needed. Use light pressure and do not push down hard. Do not keep the drill in one spot — keep it moving. Leaning on it in one place is how paint gets damaged.
4. Wipe with a microfiber, inspect and repeat as necessary.
Removing paint transfer
Important notes
Questions we get most
Taken from the emails people actually send us after using the product.
Three to five on a typical light scratch. Work a small area, wipe it clean and judge it in daylight before going again. If two passes in a row change nothing, stop - that is depth rather than technique, and more rubbing will not help.
Yes. Keep the passes short, the pressure light and the panel cool, and keep the pad damp with compound. A dry pad on hot paint is what causes marring. You are removing a microscopic layer of clear coat, so there is no reason to lean on it.
Used as directed - clean panel, light pressure, out of direct sun - no. It is a fine polishing compound, not an abrasive sandpaper. The failure mode is that nothing happens, not that something breaks.
Car shampoo, rinse, dry with a clean microfiber. Nothing else is needed. Do not use household detergents or degreasers, and make sure no grit is left on the panel before the pad touches it.
Yes. What comes off is oxidised clear coat mixed with compound, and it often looks grey, bluish or chalky regardless of the colour underneath. It is not your paint coming off.
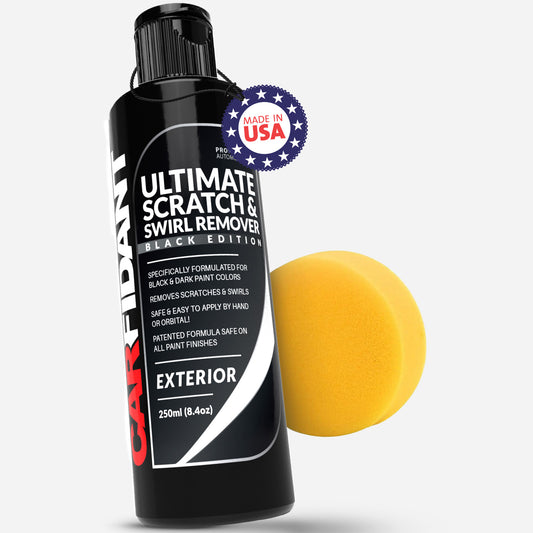
Yes - the bottle you have is safe on black and dark paint, and the steps on this page are the same. We also make a Black Edition, tinted for dark finishes, if you would rather use that one. What black really asks for is patience: it shows every swirl, so work in smaller sections, keep the pressure light, and expect a pass or two more than you would on a lighter colour.
No. This is for painted surfaces only. If you bought it for glass, contact us and we will sort out a return.
No - your kit is complete. The drill attachment comes with one particular version of the kit, the one whose listing says it includes a drill attachment. Every other version is the bottle and the hand pad, and that is what most people use: the hand pad does the same job on a light scratch, and the drill only saves time over a large area. If a part listed on your box really is missing, email support@carfidant.com with your order number and we will send it.
Only once the touch-up paint has fully cured, and only to level the gloss around it. It will not hide the edge of a touch-up repair, and on fresh paint it will pull the repair straight back off.
Not for the repair itself. Polishing removes whatever wax or sealant was sitting on that spot, so the corrected area is left bare while the rest of the panel is not. Any wax, sealant or ceramic spray over the area, once it is clean and dry, puts it back in step.
Still not getting the result?
Do not spend another afternoon on it. Email a photo of the area and your order number to support@carfidant.com. A real person looks at every one and tells you whether it is technique, the wrong product for that damage, or something a compound simply cannot fix.
Sixty-day money back either way — used, half empty, does not matter.
-
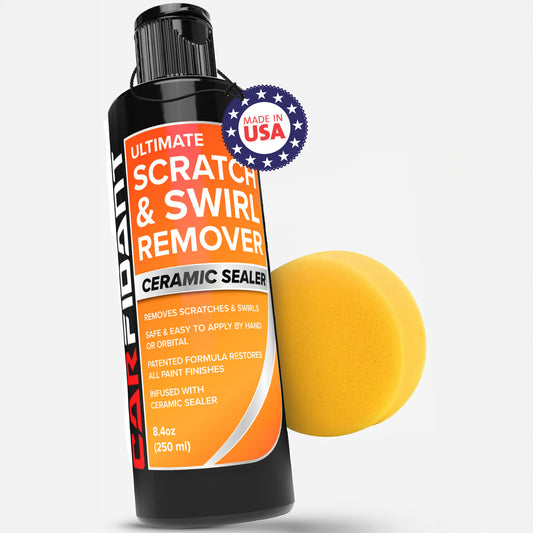
Ultimate Car Scratch & Swirl Remover
Regular price From $21.97Regular priceUnit price per$26.97Sale price From $21.97Sale -
Trim & Plastic Restorer
Regular price From $17.99Regular priceUnit price per$24.99Sale price From $17.99Sale -
Ultimate Car Interior Cleaner
Regular price $16.97Regular priceUnit price per$21.97Sale price $16.97Sale -
Scratch and Swirl Remover for Black and Dark Paints
Regular price From $21.97Regular priceUnit price per$26.99Sale price From $21.97Sale